
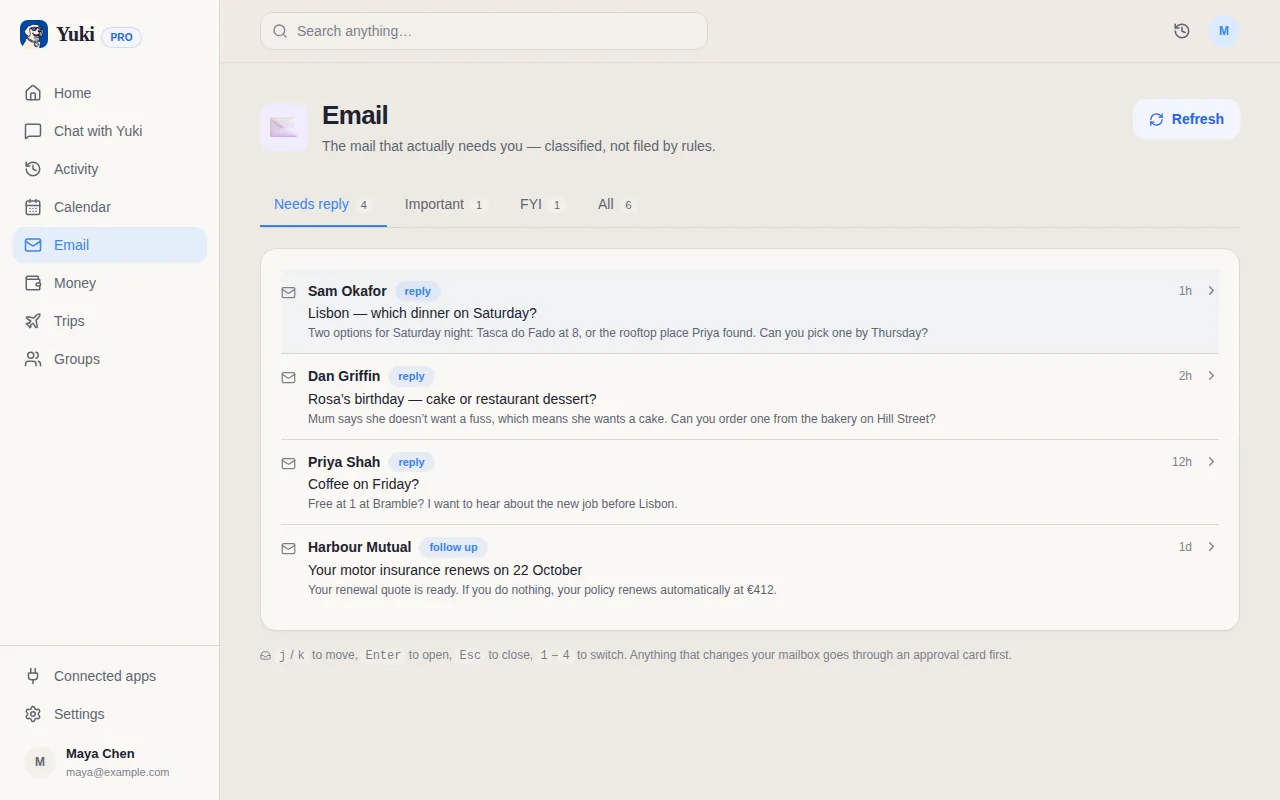
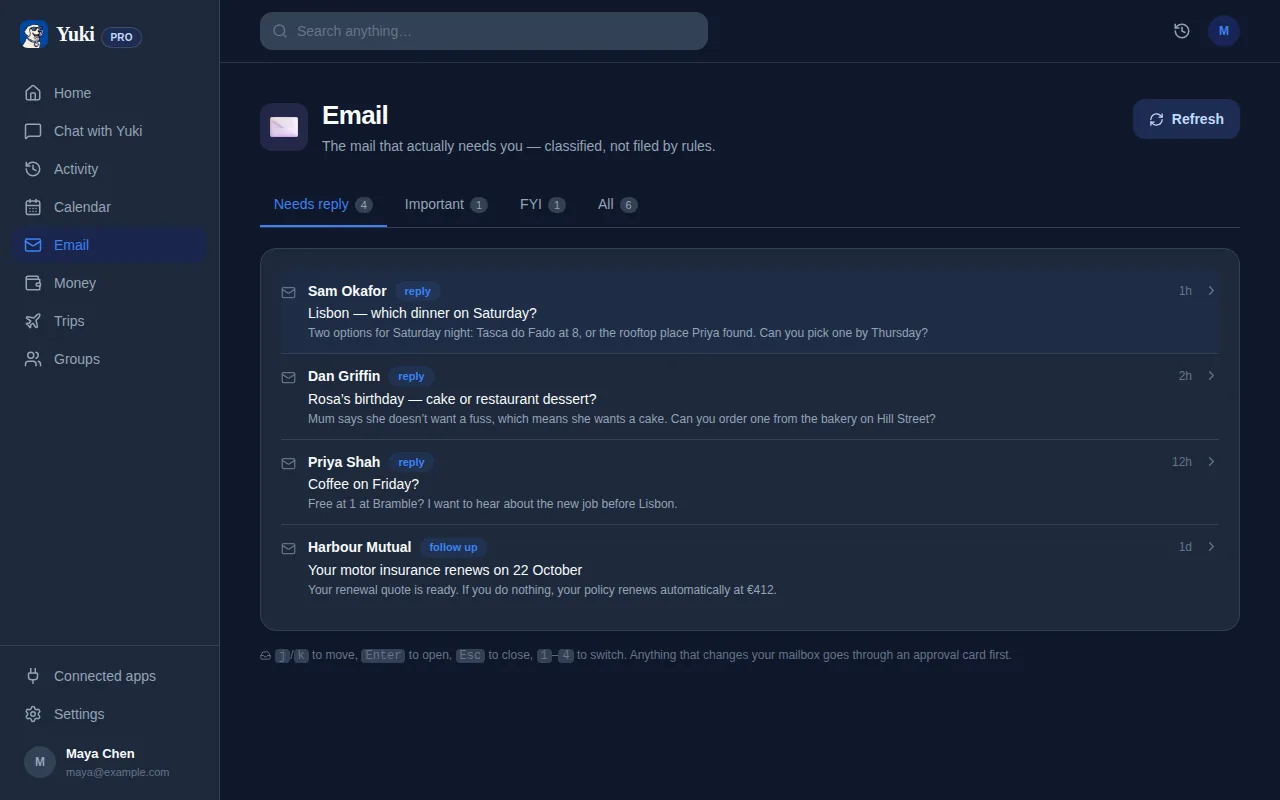
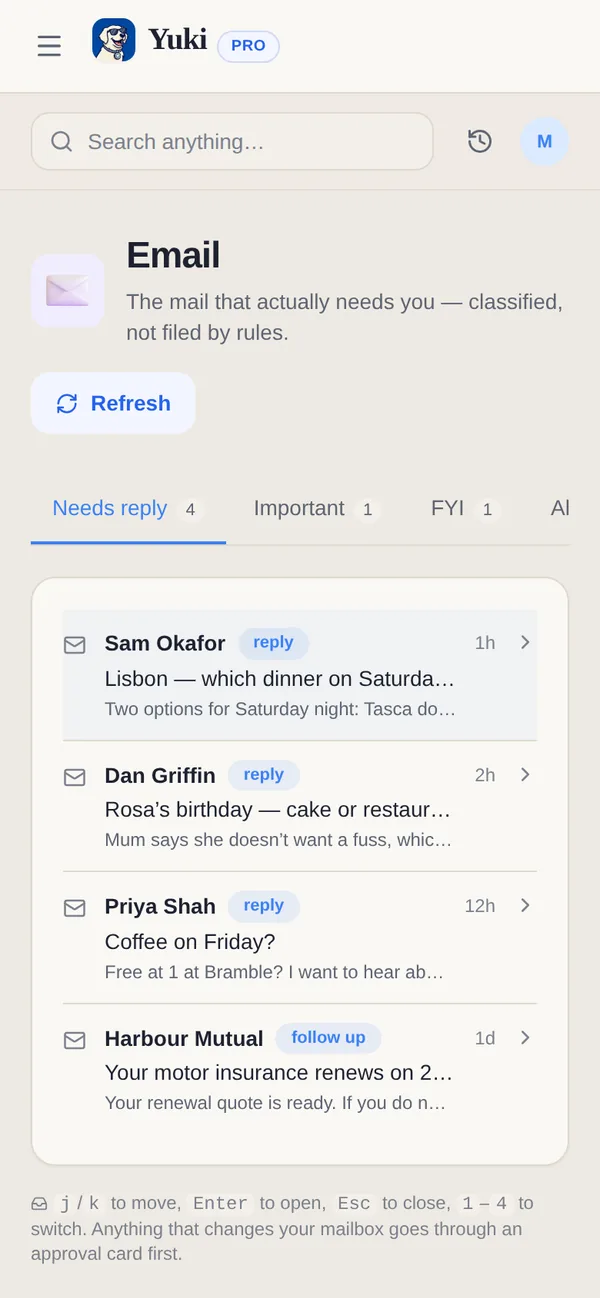
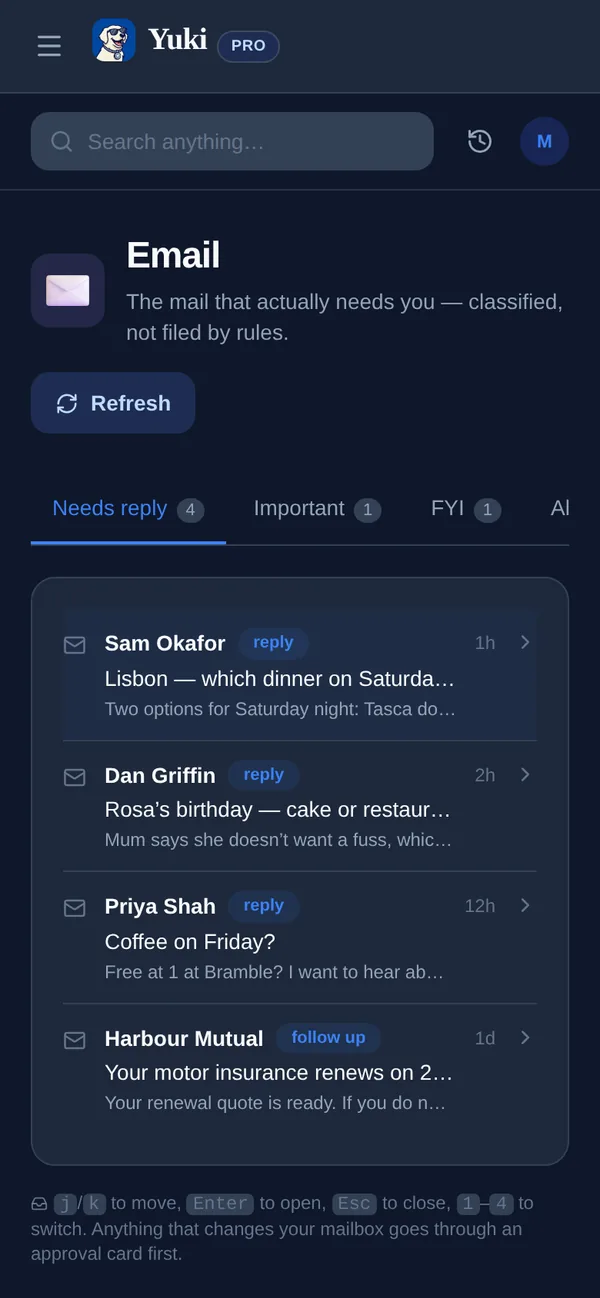
Tu bandeja de entrada ya conoce tu vida — la confirmación de vuelo, la reserva de cena, el recibo de Amazon, la factura de suministros, la invitación a la fiesta de cumpleaños. El problema es que esta información se queda atrapada como correo sin leer, así que terminas volviendo a leerla, retecleardla y volviendo a recordarla tú mismo. Yuki arregla eso conectándose directamente a tu cuenta de Outlook (o Microsoft 365) y convirtiendo en silencio esos mensajes en un calendario vivo, itinerarios de viaje, gastos controlados, actualizaciones de entrega y recordatorios — sin reenviar, sin copiar y pegar. Esta guía te lleva a través de conectar Outlook a Yuki, qué esperar una vez vinculado, y cómo solucionar problemas si la conexión no cuaja.
Antes de empezar: qué necesitas
Conectar Outlook a Yuki lleva unos dos minutos y solo requiere dos cosas: la app Yuki en tu teléfono y la contraseña de la cuenta de Microsoft que quieres vincular. Yuki es gratis para descargar tanto en iOS como en Android, con una prueba gratuita de 14 días (la sincronización de bandeja de entrada es una función Pro), y la conexión se hace dentro de la app.
Yuki funciona con direcciones personales de Outlook.com y Hotmail así como cuentas de Microsoft 365 / trabajo y estudio. Si tu cuenta de trabajo está gestionada por un administrador de TI, algunas organizaciones restringen qué apps pueden conectarse; si te topas con un muro ahí, una bandeja de entrada personal es la forma más rápida de probarlo.
- La app Yuki (iOS o Android) — el único lugar donde puedes conectar una bandeja de entrada
- Las credenciales de tu cuenta de Microsoft / Outlook
- Un minuto para que la primera sincronización lea los mensajes recientes
Conectar tu cuenta de Outlook, paso a paso
Durante la incorporación, Yuki te pedirá conectar una bandeja de entrada. Elige la opción Outlook / Microsoft y se te llevará a la pantalla de inicio de sesión seguro propia de Microsoft — introduces tu contraseña con Microsoft, no con Yuki, así que tus credenciales nunca se teclean en la app en sí.
Después de iniciar sesión, Microsoft muestra una pantalla de consentimiento listando el acceso de lectura que Yuki necesita para escanear tus confirmaciones, recibos e invitaciones. Aprobarla completa el vínculo y arranca la primera sincronización. Si te saltaste esto durante la incorporación, puedes conectar en cualquier momento desde la configuración de correo de tu perfil.
- Elige Outlook / Microsoft en la pantalla de conectar correo
- Autentícate en la ventana segura de Microsoft
- Aprueba los permisos de lectura solicitados
- Deja que termine la primera sincronización para rellenar tus datos
Qué pasa después de conectar Outlook
Una vez vinculado, Yuki lee las señales útiles de tu bandeja de entrada y las organiza por ti. Las confirmaciones de vuelo y hotel se convierten en itinerarios de viaje, los eventos de calendario se escriben de forma bidireccional en Google Calendar (la escritura en Apple Calendar está disponible en iOS), los recibos y facturas se convierten en gastos y suscripciones controlados, los correos de envío se convierten en seguimiento de entregas en vivo, y las invitaciones y cumpleaños se convierten en recordatorios. El correo diario que de otro modo tendrías que recordar y sobre el que actuar se convierte en un plan que de verdad puedes ver.
Aquí es donde aterriza la recompensa real: en vez de que tú seas el sistema que lo recuerda todo, Yuki se convierte en la capa de memoria y coordinación. Si compartes hogar, puedes meter cualquier parte de esto en grupos compartidos para una pareja, familia, coparentalidad o compañero de piso — incluyendo dividir facturas y liquidar — para que nadie tenga que ser el calendario humano de la familia.
- Un calendario vivo, itinerarios de viaje y seguimiento de entregas
- Gastos, suscripciones y recordatorios de facturas controlados
- Grupos compartidos para parejas, familias, coparentalidad y compañeros de piso
- Yuki AI para hacer preguntas en lenguaje sencillo
Solucionar una conexión que no se mantiene
Si la ventana de Microsoft se cierra sin conectar, las causas más comunes son una pantalla de consentimiento cancelada, una cuenta de trabajo que tu administrador de TI ha bloqueado, o estar conectado a una cuenta de Microsoft distinta de la que pretendías. Vuelve a ejecutar el flujo de conexión desde tu perfil y comprueba dos veces qué cuenta se muestra en la parte superior del inicio de sesión de Microsoft.
Si Outlook se conecta pero no ves eventos o gastos de inmediato, dale un momento a la primera sincronización — Yuki lee el historial reciente, y los correos más antiguos o con formato inusual pueden tardar más en aparecer. También puedes conectar más de una bandeja de entrada, así que un Outlook de trabajo y un Gmail personal pueden alimentar la misma vista organizada.
- Consentimiento cancelado o parcialmente aprobado — vuelve a intentarlo y aprueba todos los permisos de lectura
- Cuenta de trabajo bloqueada — prueba con un Outlook personal para probar, o pregunta a tu administrador
- Cuenta incorrecta conectada — verifica la dirección en la pantalla de Microsoft
- Nada aparece todavía — espera la primera sincronización, luego desliza para actualizar
Paso a paso
- 1Descarga Yuki (gratis) desde la App Store o Google Play y ábrelo — conectar el correo ocurre en la app móvil.
- 2Crea tu cuenta o inicia sesión. Puedes empezar con Google, Apple, o correo/contraseña; no necesitas un inicio de sesión de Outlook solo para crear la cuenta.
- 3Desde la incorporación toca "Conectar correo" — o después, ve a Perfil y abre la configuración de conexión de correo — y elige Outlook / Microsoft.
- 4Inicia sesión en tu cuenta de Microsoft en la ventana segura de Microsoft que aparece (este es el propio inicio de sesión de Microsoft, no el de Yuki).
- 5Revisa y aprueba los permisos de lectura que Yuki solicita para que pueda escanear confirmaciones, recibos e invitaciones entrantes.
- 6Espera a que termine la primera sincronización — Yuki lee mensajes recientes y empieza a rellenar tu calendario, gastos, viajes y recordatorios automáticamente.
- 7Opcionalmente conecta una segunda bandeja de entrada (por ejemplo, un Gmail personal junto a un Outlook de trabajo) para que todo aterrice en un solo lugar.