
Reservaste el vuelo en marzo, el hotel en abril, y el coche de alquiler la semana pasada — cada uno desde un sitio distinto, cada uno aterrizando como un correo de confirmación separado enterrado en algún lugar de tu bandeja de entrada. Para cuando llega el viaje, planificar se siente como una búsqueda del tesoro: buscar "confirmación", hacer capturas de pantalla de números de referencia, y esperar no haberte saltado una escala o una hora de entrada. La buena noticia es que ya has hecho la parte difícil. Cada detalle que necesitas está en esos correos. Esta guía te muestra cómo reunirlos en un itinerario claro y cronológico — primero a mano, luego automáticamente — para que dejes de recordar logística y simplemente hagas el viaje.
Encuentra cada reserva (ya está en tu bandeja de entrada)
La sensación de dispersión al planificar un viaje es en realidad un problema de búsqueda. Nada se ha perdido — solo está repartido entre una docena de remitentes y enterrado bajo correo más nuevo. Empieza buscando las palabras clave que los sistemas de reserva usan de forma fiable: "confirmación", "itinerario", "reserva", "billete electrónico" y "facturación", cada una emparejada con tu destino o el nombre del proveedor.
Haz una pasada por cada categoría para que nada se te escape: aerolíneas, hoteles o alquileres de corta estancia, coches de alquiler y traslados, trenes, y cualquier tour o reserva de restaurante que confirmaras con antelación. El número de referencia y las fechas del viaje que necesitas casi siempre están en las dos primeras líneas del correo — rara vez necesitas abrir el adjunto.
- Vuelos: busca el nombre de la aerolínea + "confirmación" o tu localizador de 6 caracteres
- Alojamiento: busca "reserva" + el hotel o la plataforma de reserva
- Transporte terrestre: "alquiler", "recogida", "traslado" o el operador ferroviario
- Actividades: "entrada", "reserva" o el nombre del lugar
- No olvides el trayecto de vuelta — a menudo es un correo aparte del de ida
Monta un solo itinerario cronológico
El error que comete la mayoría es organizar las reservas por cuándo las compró. Lo que realmente evita problemas es una única línea de tiempo ordenada por cuándo ocurren las cosas. Pon primero el vuelo de ida, luego el transporte del aeropuerto al hotel, luego la entrada, y así sucesivamente — hasta tu puerta de vuelta.
Presentarlo así hace obvios los huecos. Verás de inmediato la escala de tres horas sin plan, la noche que el hotel no cubre, o el coche de alquiler que devuelves antes de que aterrice siquiera tu vuelo. Ese es todo el sentido de un itinerario: no almacenar información, sino revelar las costuras entre reservas antes de que se conviertan en problemas de aeropuerto.
- Ordena todo por fecha y hora, no por fecha de compra
- Anota explícitamente las horas de entrada y salida — son fáciles de dar por sentado mal
- Mantén cada número de confirmación junto a su elemento para tenerlo a un vistazo
- Añade detalles locales que querrás al llegar: terminal, dirección, número de contacto
Deja que Yuki lo construya automáticamente desde esos correos
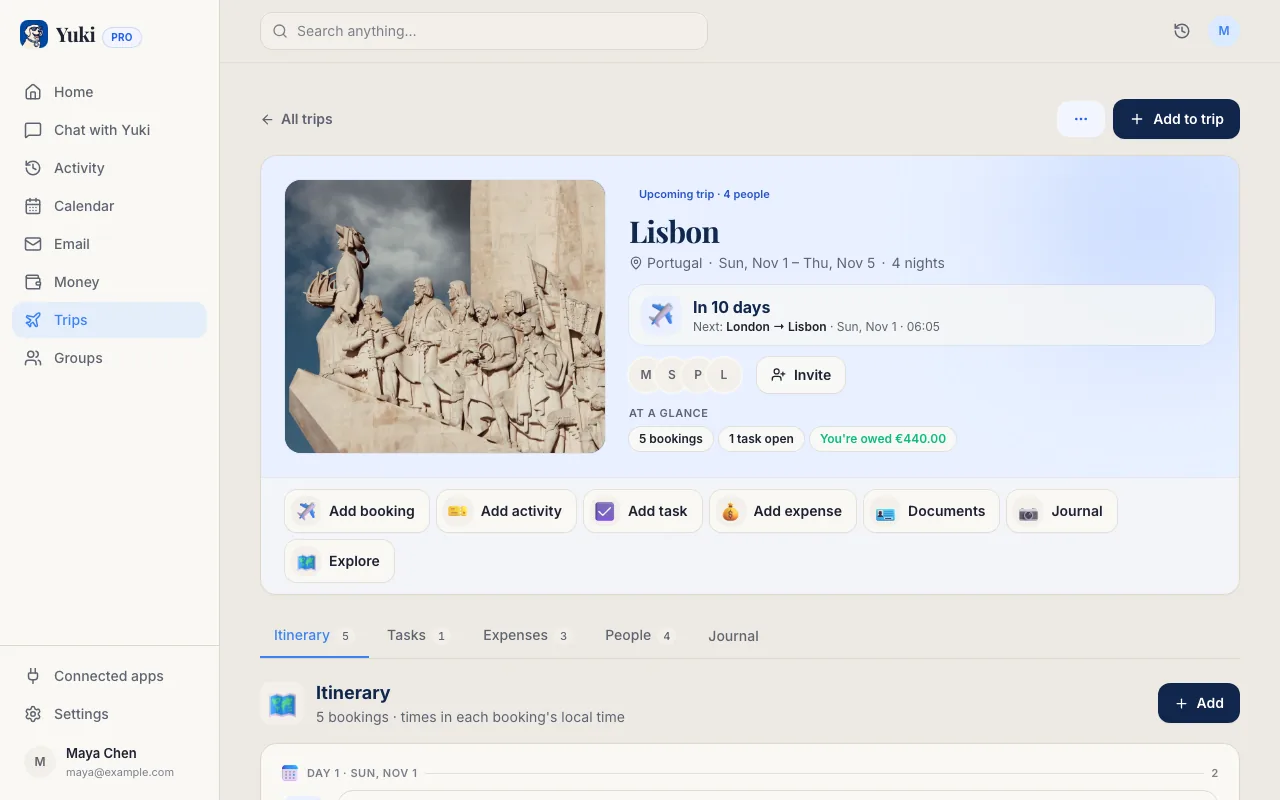
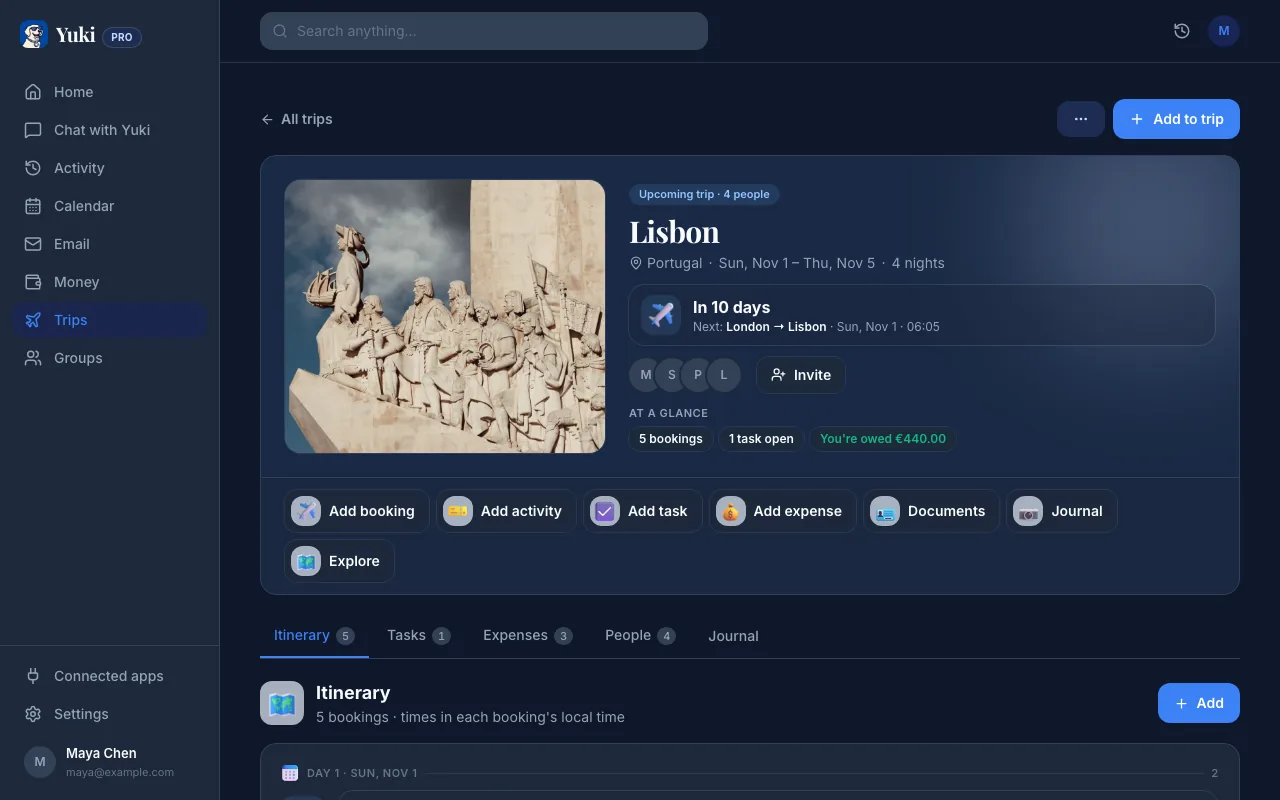
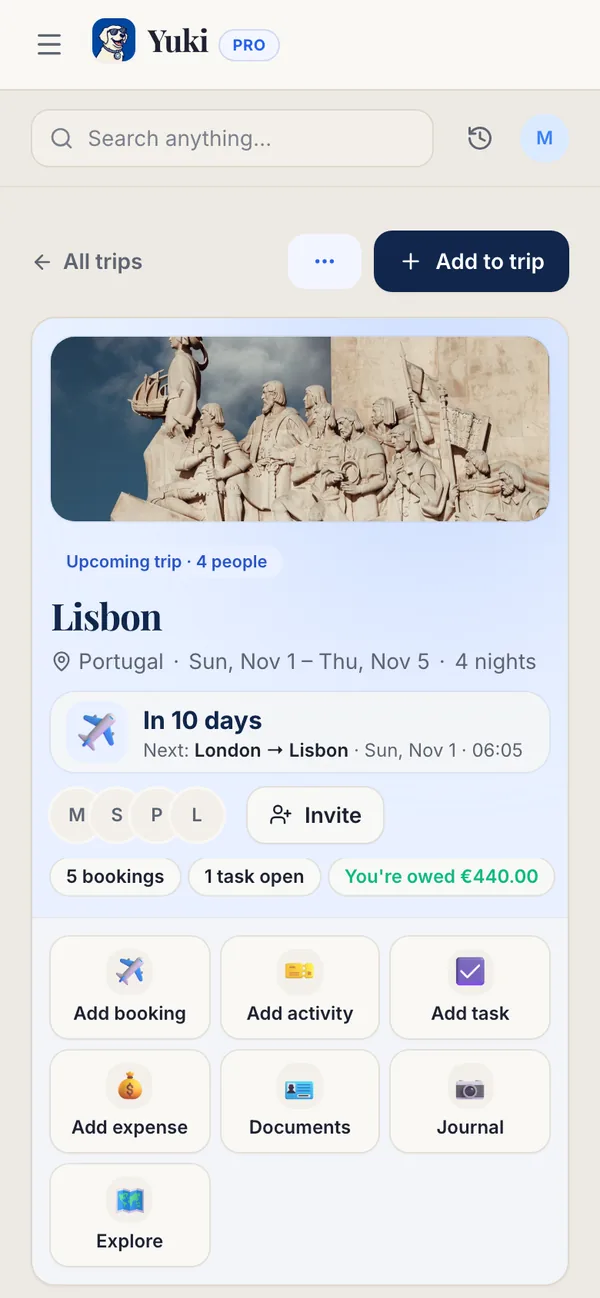
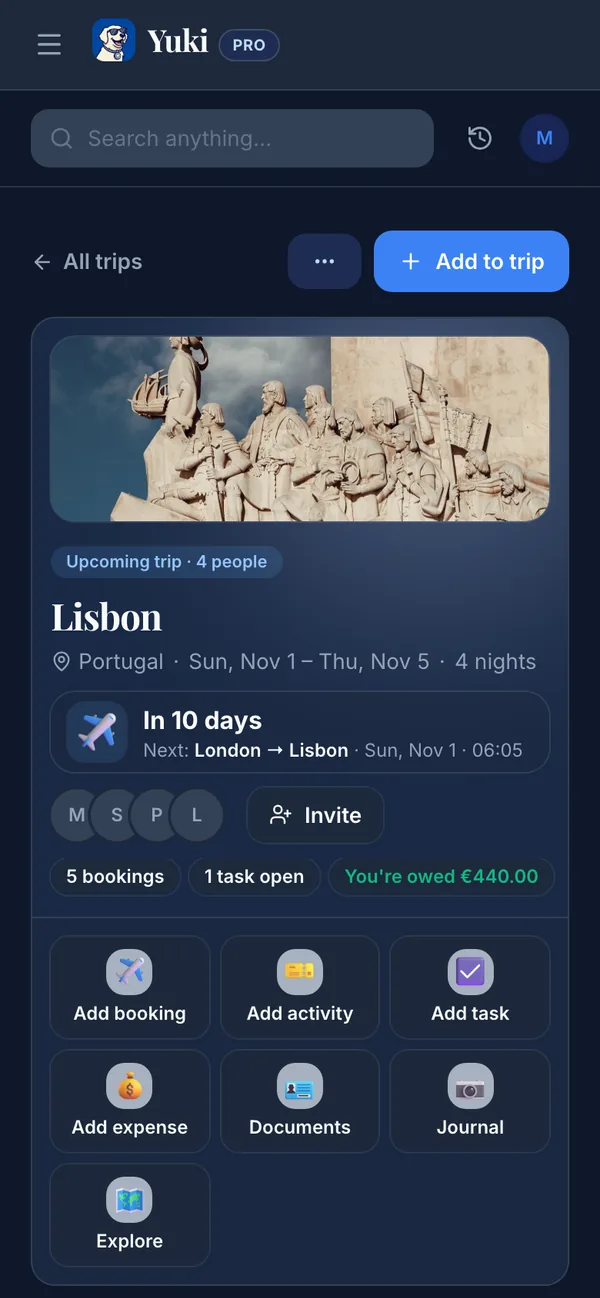
Hacer todo esto a mano funciona una vez. Pero en el momento en que cambia la hora de un vuelo o añades una reserva de cena, tu línea de tiempo cuidadosamente construida queda desactualizada. Aquí es donde conectar tu bandeja de entrada da sus frutos. Yuki se conecta a Gmail, lee las mismas confirmaciones que de otro modo buscarías, y las monta en un itinerario de viaje por su cuenta — vuelos, hotel, coche de alquiler y actividades ya en orden.
Como funciona a partir de los correos que ya recibes, no hay que retecleardr números de referencia ni reenviar PDFs. Cuando una aerolínea envía un cambio de horario o reservas una cosa más, el itinerario se actualiza para que coincida. Yuki también escribe tu viaje en tu calendario (bidireccional con Google Calendar, y Apple Calendar en iOS), así que las salidas y entradas aparecen junto al resto de tu vida en vez de en una app de viajes aparte que tienes que acordarte de abrir.
La ganancia mayor es la carga mental. Dejas de llevar en la cabeza "no olvides que la entrada abre al mediodía", porque el plan vive en algún lugar fiable y se mantiene actualizado sin tu atención.
Compártelo para que nadie sea el único organizador del viaje
Si viajas con una pareja, familia o amigos, el itinerario no debería vivir en la cabeza de una sola persona o en la bandeja de entrada de una sola persona. Los grupos compartidos de Yuki dejan que todos en el viaje vean el mismo plan — vuelos, alojamiento y horarios — sin un chat de grupo atascado de confirmaciones reenviadas.
Esa vista compartida también cubre el lado del dinero. Los viajes generan costes compartidos — el alquiler, la villa, la cena de grupo — y esos mismos correos de recibo alimentan el control de gastos de Yuki, así que puedes dividir y liquidar después en vez de reconstruir de memoria quién pagó qué.
- Todos ven un único itinerario vivo, no un hilo de capturas de pantalla
- Los grupos compartidos sirven para parejas, familias, coparentalidad y compañeros de piso
- Los recibos del viaje fluyen al control de gastos para dividir y liquidar fácilmente
- Nadie tiene que ser el coordinador designado
Paso a paso
- 1Busca en tu bandeja de entrada las palabras clave de reserva — "confirmación", "itinerario", "reserva", "booking", "billete electrónico", "facturación" — más la aerolínea, el hotel o el nombre de la ciudad para sacar a la luz todo lo del viaje.
- 2Recopila los cinco bloques constructivos: vuelos de ida y vuelta, alojamiento (con fechas de entrada/salida), transporte terrestre (coche, tren, traslados), cualquier actividad o reserva prebooked, y números de confirmación/referencia de cada uno.
- 3Ordénalos cronológicamente, no por cuándo los reservaste — una única línea de tiempo desde el despegue hasta el aterrizaje es lo que realmente evita conexiones perdidas.
- 4Marca los elementos sensibles al tiempo: ventanas de facturación de vuelo, horas de entrada al hotel, plazos de cancelación, y cualquier cosa que requiera un billete impreso o móvil.
- 5Conecta Gmail a Yuki para que lea esas mismas confirmaciones y construya el itinerario por ti — y luego lo mantenga actualizado a medida que llegan nuevas reservas o cambios.
- 6Comparte el viaje con quien viajes para que todos vean el mismo plan sin un chat de grupo lleno de PDFs reenviados.