
Você reservou o voo em março, o hotel em abril, e o carro alugado semana passada — cada um em um site diferente, cada um chegando como um e-mail de confirmação separado, enterrado em algum lugar da sua caixa de entrada. Quando a viagem chega, planejar parece uma caça ao tesouro: buscando "confirmação", tirando print de números de referência, e torcendo para não ter perdido uma conexão ou um horário de check-in. A boa notícia é que você já fez a parte difícil. Cada detalhe que você precisa está guardado nesses e-mails. Este guia mostra como reuni-los em um único roteiro claro e cronológico — primeiro na mão, depois automaticamente — para que você pare de lembrar a logística e simplesmente faça a viagem.
Encontre toda reserva (elas já estão na sua caixa de entrada)
A sensação de dispersão do planejamento de viagem é, na verdade, um problema de busca. Nada está perdido — está só espalhado entre uma dúzia de remetentes e enterrado sob e-mails mais recentes. Comece buscando as palavras-chave que os sistemas de reserva sempre usam: 'confirmação', 'roteiro', 'reserva', 'e-ticket' e 'check-in', cada uma combinada com o seu destino ou o nome do fornecedor.
Faça uma passada por cada categoria para que nada escape: companhias aéreas, hotéis ou aluguéis de curta duração, carros alugados e transfers, trens, e quaisquer passeios ou reservas de restaurante que você fez com antecedência. O número de referência e as datas de viagem que você precisa quase sempre estão nas duas primeiras linhas do e-mail — raramente é preciso abrir o anexo.
- Voos: busque o nome da companhia aérea + 'confirmação' ou o seu localizador de reserva de 6 caracteres
- Hospedagem: busque 'reserva' + o hotel ou a plataforma de reserva
- Transporte terrestre: 'aluguel', 'retirada', 'transfer' ou a operadora ferroviária
- Atividades: 'ingresso', 'reserva' ou o nome do local
- Não esqueça o trecho de volta — geralmente é um e-mail separado do trecho de ida
Monte um único roteiro cronológico
O erro que a maioria das pessoas comete é organizar as reservas pela data em que compraram. O que realmente previne problemas é uma única linha do tempo ordenada por quando as coisas acontecem. Coloque o voo de ida primeiro, depois o transporte do aeroporto até o hotel, depois o check-in, e assim por diante — até o seu portão de volta.
Organizar dessa forma torna as lacunas óbvias. Você vai ver imediatamente a conexão de três horas sem plano, a noite que o hotel não cobre, ou o carro alugado que você está devolvendo antes mesmo de o voo pousar. Esse é todo o objetivo de um roteiro: não armazenar informação, mas revelar as costuras entre as reservas antes que virem problemas no aeroporto.
- Ordene tudo por data e horário, não pela data de compra
- Anote os horários de check-in e check-out explicitamente — é fácil presumir errado
- Mantenha cada número de confirmação ao lado do seu item, a um olhar de distância
- Acrescente detalhes locais que você vai querer na chegada: terminal, endereço, número de contato
Deixe o Yuki montar isso a partir desses e-mails automaticamente
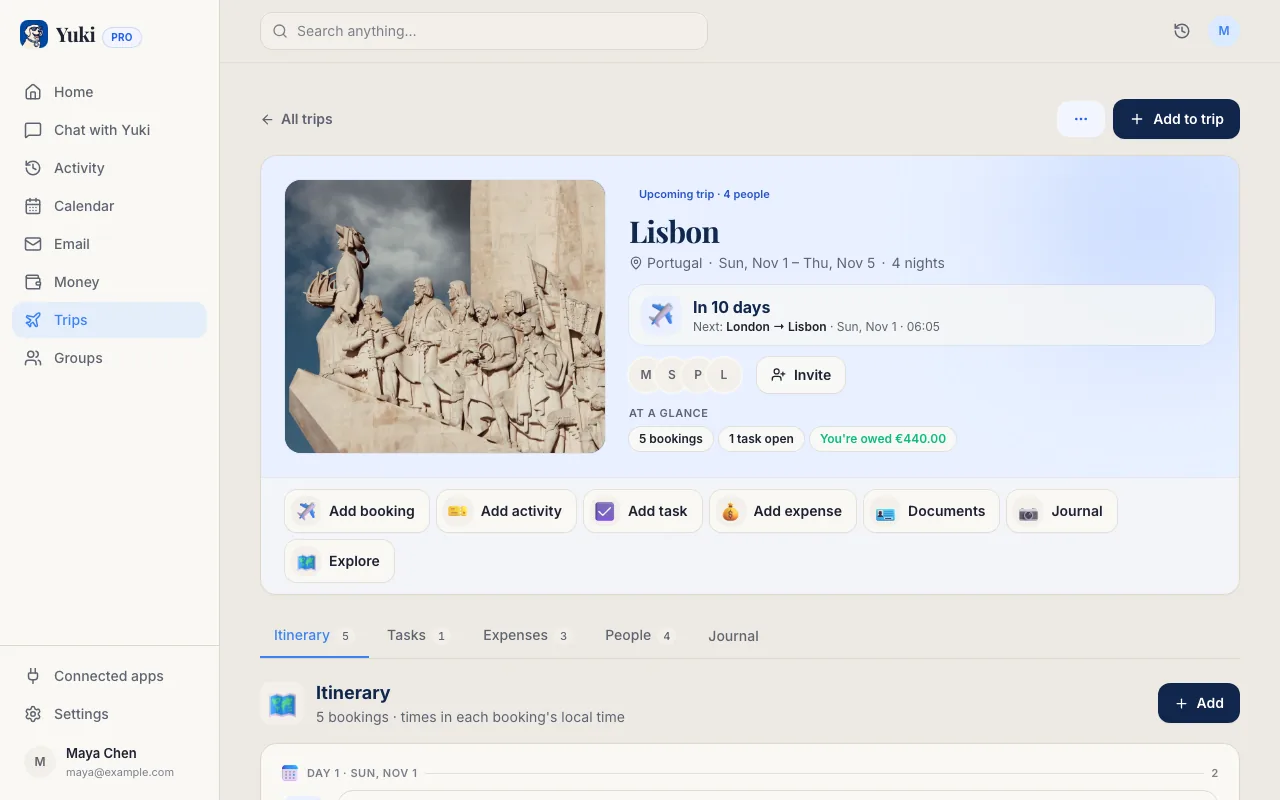
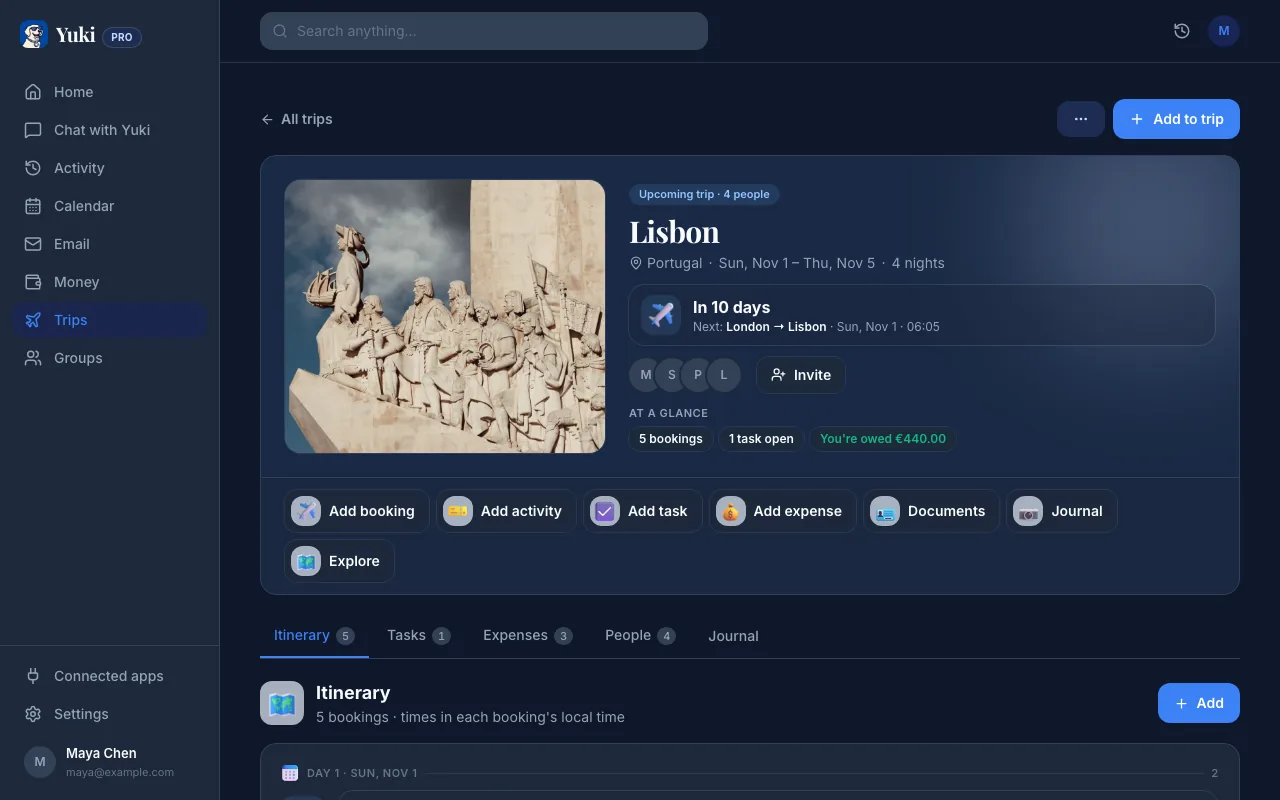
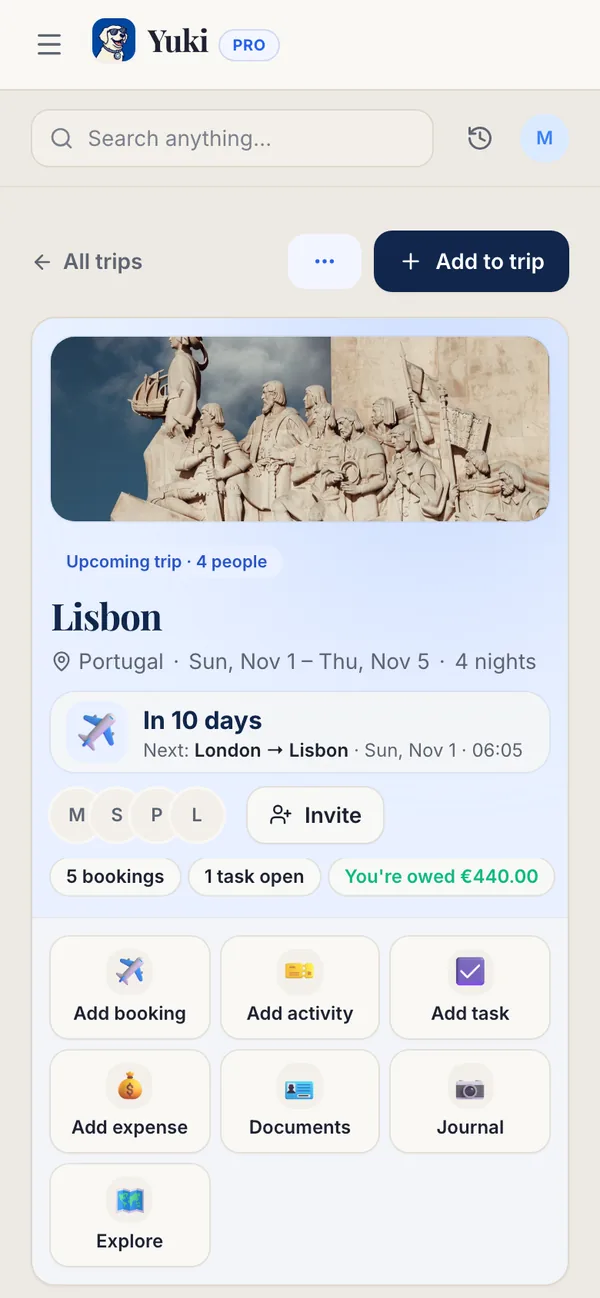
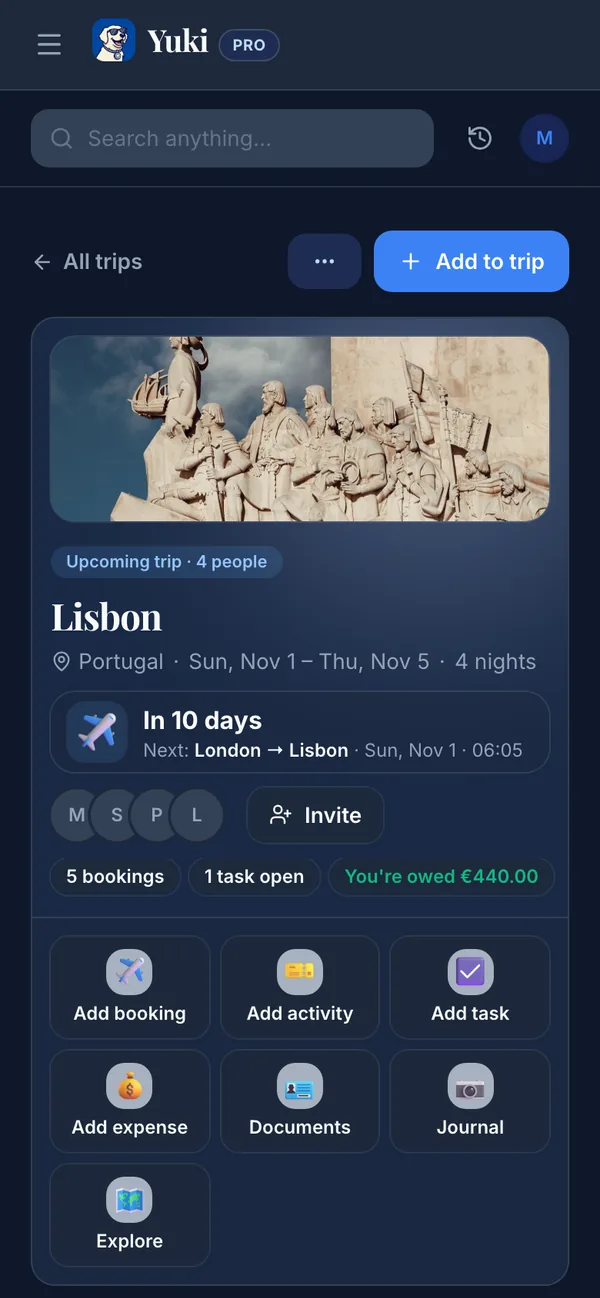
Fazer tudo isso na mão funciona uma vez. Mas no momento em que o horário de um voo muda ou você adiciona uma reserva de jantar, a sua linha do tempo cuidadosa fica desatualizada. É aqui que conectar a sua caixa de entrada compensa. O Yuki se conecta ao Gmail, lê as mesmas confirmações que você teria que caçar, e as monta em um roteiro de viagem sozinho — voos, hotel, carro alugado e atividades já em ordem.
Como ele trabalha a partir dos e-mails que você já recebe, não há redigitação de números de referência nem encaminhamento de PDFs. Quando uma companhia aérea manda um e-mail de mudança de horário ou você reserva mais uma coisa, o roteiro se atualiza para acompanhar. O Yuki também grava a sua viagem no seu calendário (bidirecional com o Google Calendar, e com o Apple Calendar no iOS), então partidas e check-ins aparecem ao lado do resto da sua vida, em vez de em um app de viagem separado que você precisa lembrar de abrir.
O ganho maior é a carga mental. Você para de manter na cabeça 'não esquecer que o check-in abre ao meio-dia', porque o plano vive em um lugar confiável e continua atualizado sem a sua atenção.
Compartilhe para que ninguém seja o único organizador da viagem
Se você está viajando com o parceiro, a família ou amigos, o roteiro não deveria viver na cabeça de uma só pessoa nem na caixa de entrada de uma só pessoa. Os grupos compartilhados do Yuki permitem que todo mundo na viagem veja o mesmo plano — voos, hospedagem e horários — sem um grupo de mensagens entupido de confirmações encaminhadas.
Essa visão compartilhada também cobre o lado financeiro. Viagens geram custos compartilhados — o aluguel, a casa de temporada, o jantar em grupo — e esses mesmos e-mails de recibo alimentam o controle de gastos do Yuki, para que você possa dividir e acertar as contas depois, em vez de reconstruir de memória quem pagou o quê.
- Todo mundo vê um único roteiro vivo, não uma sequência de prints
- Grupos compartilhados servem para casais, famílias, coparentalidade e colegas de quarto
- Recibos de viagem entram no controle de gastos, facilitando a divisão e o acerto de contas
- Nenhuma pessoa precisa ser a coordenadora designada
Passo a passo
- 1Busque na sua caixa de entrada pelas palavras-chave de reserva — 'confirmação', 'roteiro', 'reserva', 'e-ticket', 'check-in' — mais o nome da companhia aérea, do hotel ou da cidade, para revelar tudo sobre a viagem.
- 2Reúna os cinco blocos de construção: voos de ida e volta, hospedagem (com datas de check-in/check-out), transporte terrestre (carro, trem, transfers), quaisquer atividades ou reservas feitas com antecedência, e números de confirmação/referência de cada um.
- 3Organize-os em ordem cronológica, não pela ordem em que você reservou — uma única linha do tempo da decolagem ao pouso é o que realmente evita conexões perdidas.
- 4Marque os itens sensíveis ao tempo: janelas de check-in de voo, horários de check-in de hotel, prazos de cancelamento, e qualquer coisa que exija um ingresso impresso ou digital.
- 5Conecte o Gmail ao Yuki para que ele leia essas mesmas confirmações e monte o roteiro para você — e depois o mantenha atualizado conforme novas reservas ou mudanças chegam.
- 6Compartilhe a viagem com quem você está viajando, para que todo mundo veja o mesmo plano sem um grupo de mensagens cheio de PDFs encaminhados.