
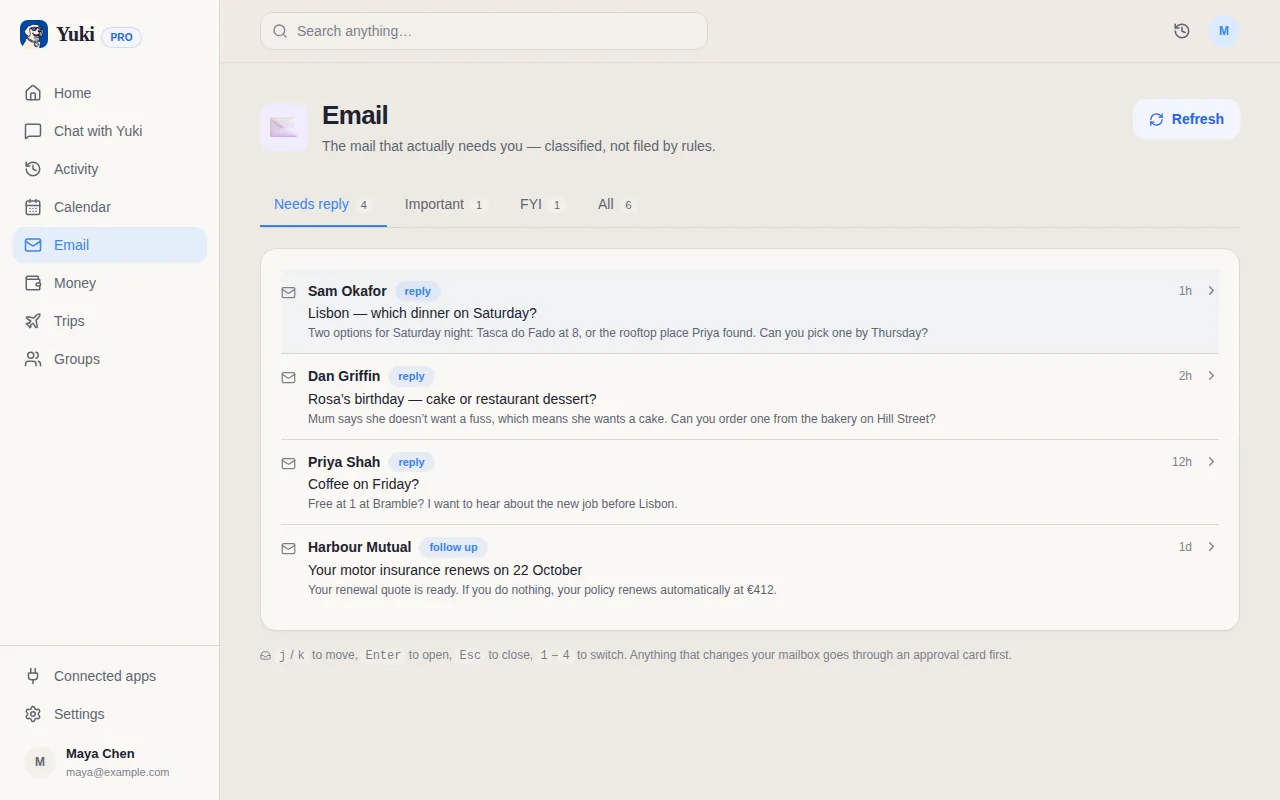
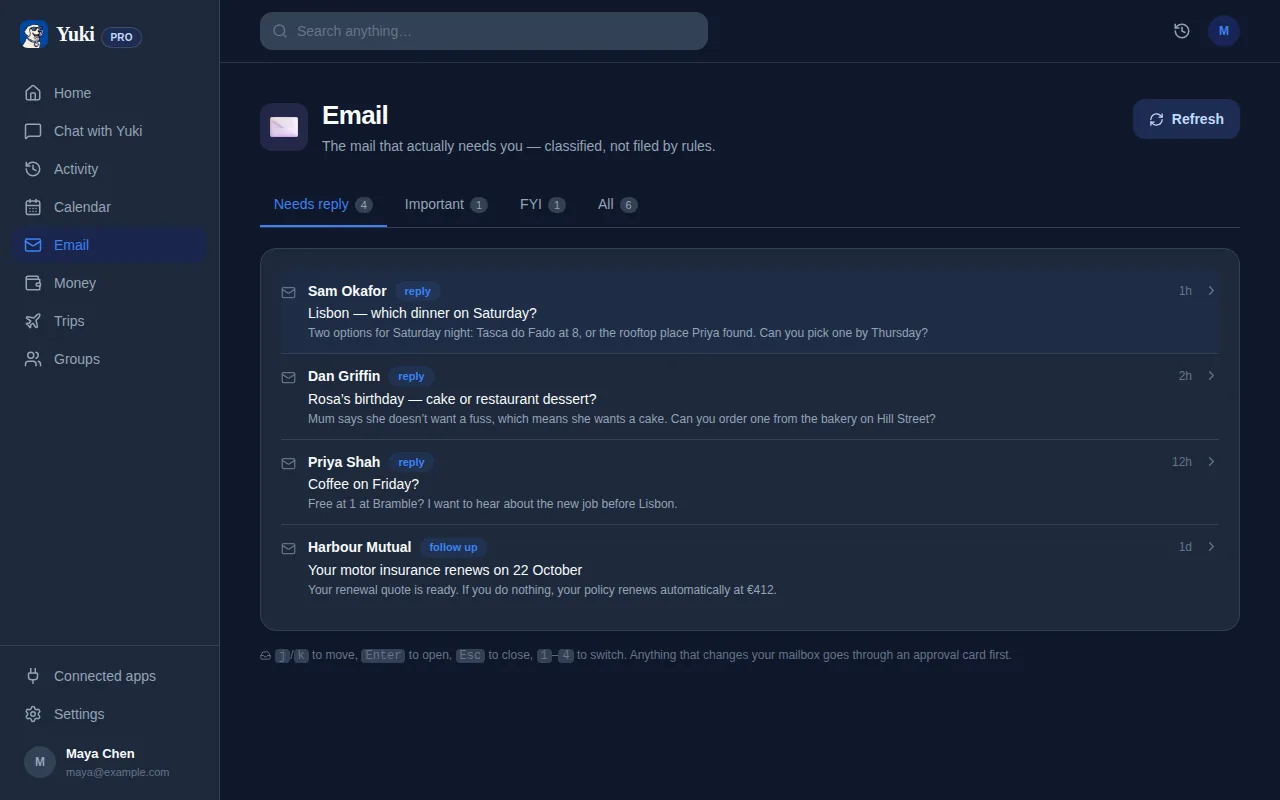
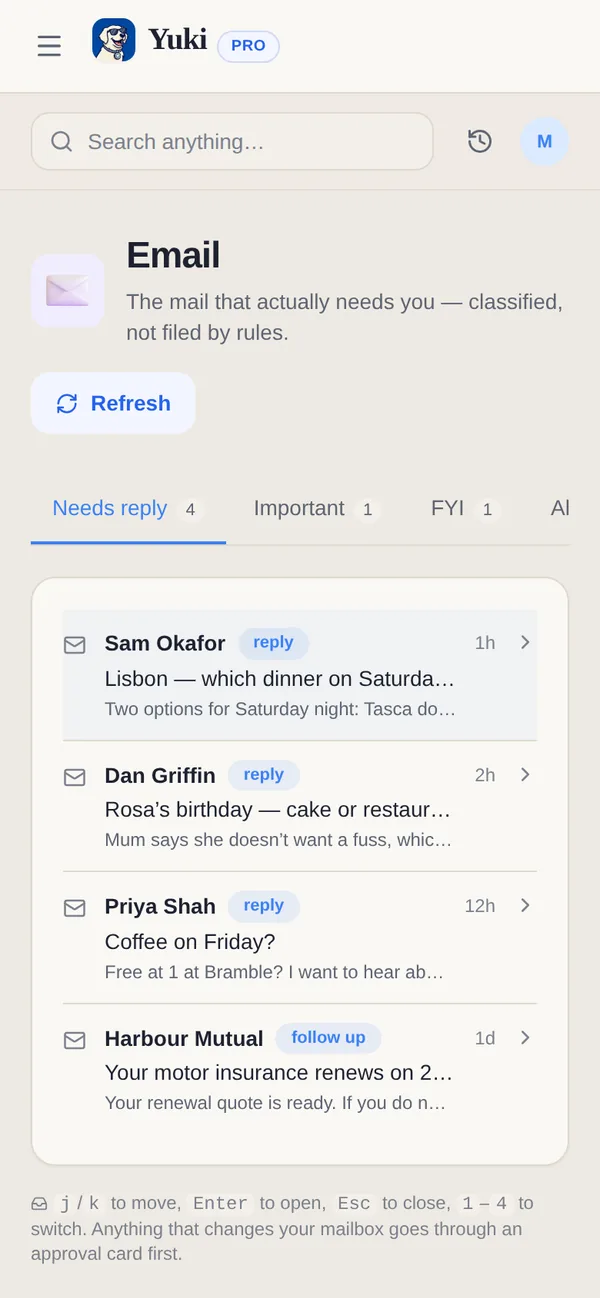
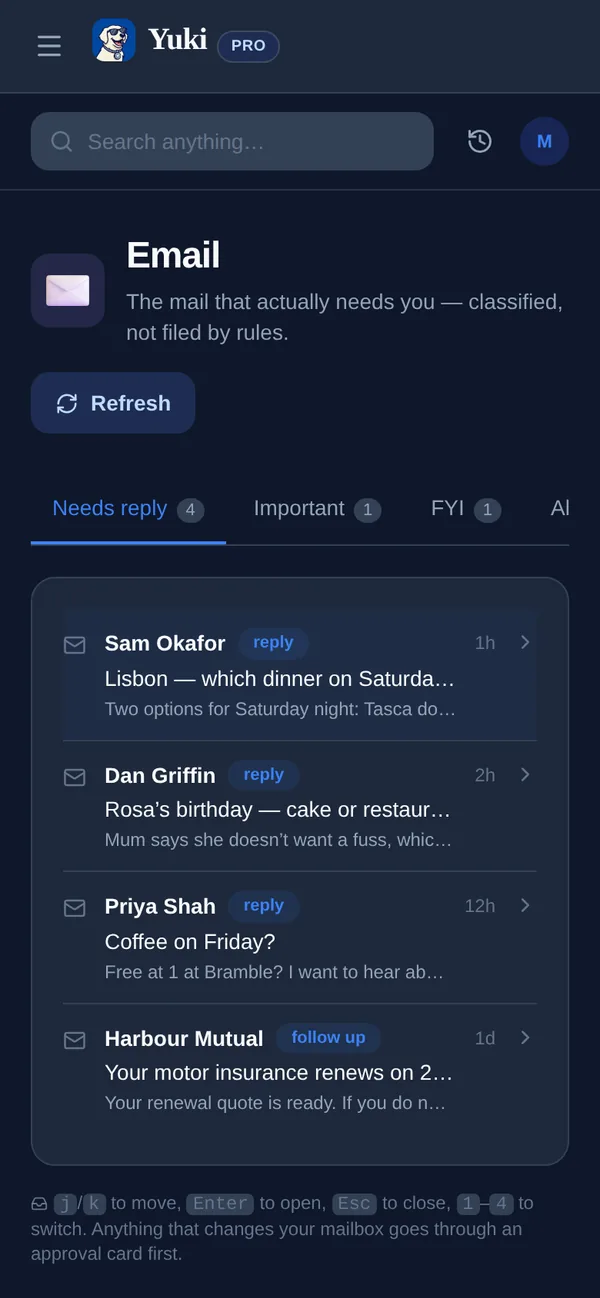
Votre boîte mail connaît déjà votre vie — les confirmations de vol, les reçus Amazon, les factures de charges, les invitations à dîner. Le problème, c’est que tout ça reste piégé sous forme de messages non lus dont vous devez vous souvenir, sur lesquels vous devez agir, et que vous devez organiser vous-même. Connecter Gmail à Yuki inverse ça : au lieu que vous fouilliez dans l’e-mail, Yuki lit les confirmations que vous recevez déjà et les transforme en agenda, itinéraires de voyage, dépenses suivies, abonnements et mises à jour de livraison — pour que le travail mental de se souvenir et de planifier disparaisse largement. Ce guide passe en revue la configuration exacte, explique ce à quoi Yuki accède et pourquoi, et montre comment réparer les deux ou trois choses qui font parfois trébucher les gens.
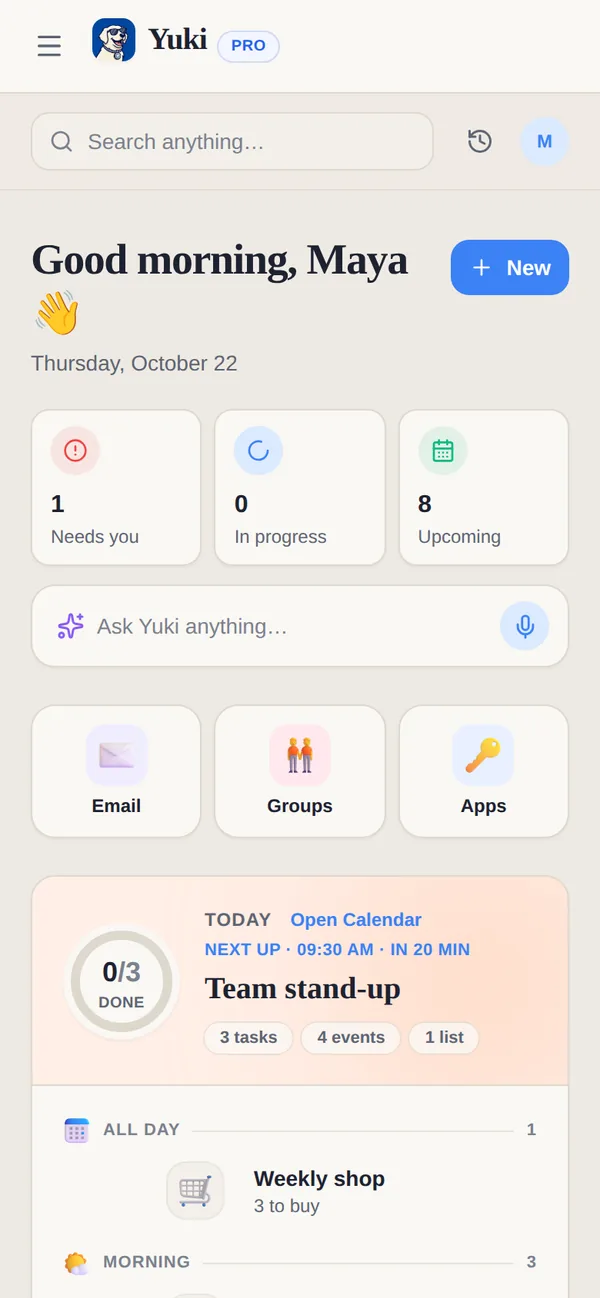
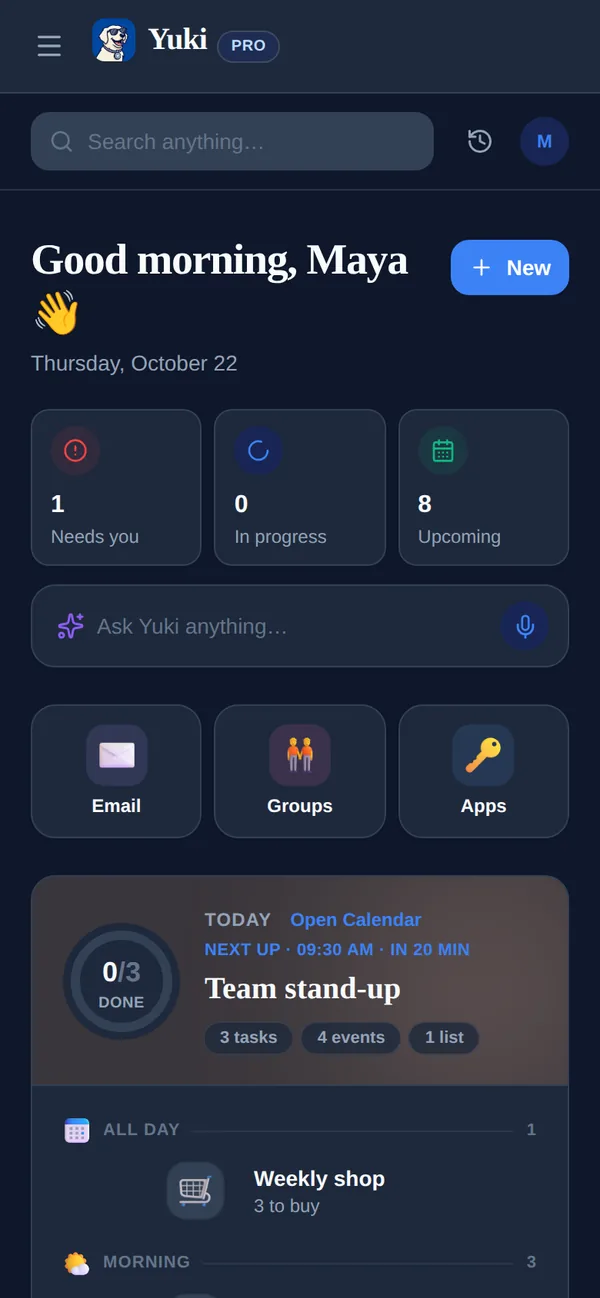
Ce que fait vraiment la connexion de Gmail
Une fois lié, Yuki lit en continu le courrier transactionnel que vous recevez déjà — confirmations de commande, réservations de voyage, factures, renouvellements d’abonnement, invitations d’agenda et notifications d’expédition — et en extrait les détails utiles. Une confirmation de vol devient un itinéraire de voyage avec horaires et terminaux. Un reçu devient une dépense suivie. Un e-mail « votre abonnement se renouvelle » devient une ligne que vous pouvez vraiment voir venir.
Le but est d’éliminer la saisie manuelle. Vous ne transférez pas d’e-mails, ne les étiquetez pas, et ne copiez pas de dates dans un agenda. Yuki fait l’analyse pour que l’information atterrisse là où elle est utile, et vous dépensez votre attention sur des décisions au lieu de la saisie de données.
- Un agenda à jour qui écrit de façon bidirectionnelle dans Google Calendar
- Des itinéraires de voyage assemblés depuis les e-mails de réservation
- Des dépenses suivies et des renouvellements d’abonnement
- Un suivi de livraison et de colis
- Des rappels, anniversaires, et un organisateur de journée de tâches
Ce que Yuki peut et ne peut pas voir
La connexion Gmail utilise un accès en lecture pour que Yuki puisse identifier et analyser les confirmations pertinentes. Il n’envoie pas d’e-mail depuis votre compte, et ce n’est pas une connexion bancaire — Yuki lit les reçus qui arrivent dans votre boîte mail plutôt que de se connecter à votre banque, donc vous gardez le contrôle de ce qu’il voit.
Si vous avez plusieurs comptes Google (disons, une boîte personnelle et une professionnelle), connectez celle où vos confirmations de la vraie vie atterrissent. Pour la plupart des gens, c’est le compte personnel lié aux achats, aux voyages et aux factures. Vous pouvez révoquer l’accès de Yuki à tout moment depuis les paramètres de sécurité de votre compte Google, sous applis connectées.
Après Gmail : connectez votre agenda
Gmail fait entrer l’information dans Yuki ; connecter Google Calendar permet à Yuki de la remettre là où vous regardez déjà. Une fois l’agenda lié, les événements que Yuki construit depuis votre e-mail — rendez-vous, voyages, renouvellements — s’écrivent de façon bidirectionnelle dans Google Calendar, donc ils apparaissent aux côtés de tout le reste sur votre téléphone et votre ordinateur.
Sur iOS, Yuki peut aussi écrire dans Apple Calendar. C’est l’étape qui boucle la boucle : votre boîte mail alimente Yuki, et Yuki alimente l’agenda que vous consultez vraiment, pour que rien ne vive dans un silo que vous devez penser à ouvrir.
Partager ce que Yuki organise
La coordination est là où l’e-mail connecté rapporte le plus. Une fois que vos réservations et factures sont des données structurées plutôt que des messages enfouis, vous pouvez les partager avec les personnes concernées — un partenaire, une famille, un coparent, ou des colocataires — via les groupes partagés de Yuki.
Cela signifie un itinéraire de voyage que les deux partenaires peuvent voir, une facture que les deux colocataires peuvent partager et solder, ou un agenda familial avec lequel tout le monde reste synchronisé — construit depuis les confirmations qui vivaient déjà dans la boîte mail d’une seule personne.
Étape par étape
- 1Téléchargez Yuki gratuitement depuis l’App Store (iOS) ou Google Play (Android), ou inscrivez-vous sur le web sur yukihq.com — c’est le même compte dans les deux cas.
- 2Créez votre compte ou connectez-vous. Vous pouvez utiliser Google (le plus rapide, puisqu’il lance la liaison Gmail dans le même flux), Apple, ou e-mail et mot de passe.
- 3Quand Yuki vous invite à connecter votre boîte mail, tapotez Connecter Gmail. Ça ouvre l’écran de connexion officiel de Google à l’intérieur de l’appli.
- 4Choisissez le compte Google dont vous voulez que Yuki organise la boîte mail — sélectionnez l’adresse où vos reçus, réservations et factures arrivent réellement.
- 5Passez en revue les permissions que Google vous montre et tapotez Autoriser. Ça accorde un accès en lecture pour que Yuki puisse scanner les confirmations ; rien n’est envoyé ni supprimé en votre nom.
- 6Attendez la première synchronisation. Yuki scanne les messages récents et commence à remplir votre agenda, vos dépenses, vos voyages et vos livraisons — le premier passage peut prendre quelques minutes.
- 7Ouvrez les onglets Accueil et Organisateur de journée pour confirmer que les éléments apparaissent, puis connectez éventuellement Google Calendar pour que Yuki puisse réécrire les événements de façon bidirectionnelle.